Connectors
In order to provide applications with access to your Google Spreadsheet, email via SMTP, you first need to create the appropriate connector, and then connect it to the script.
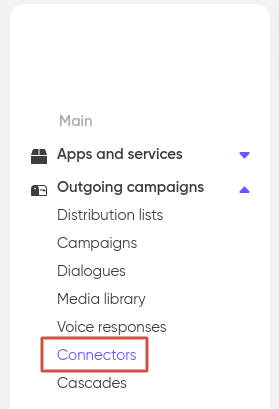
You can do this by clicking the ‘+Add’ button in the ‘Connectors’ tab on the left side of your personal account page.

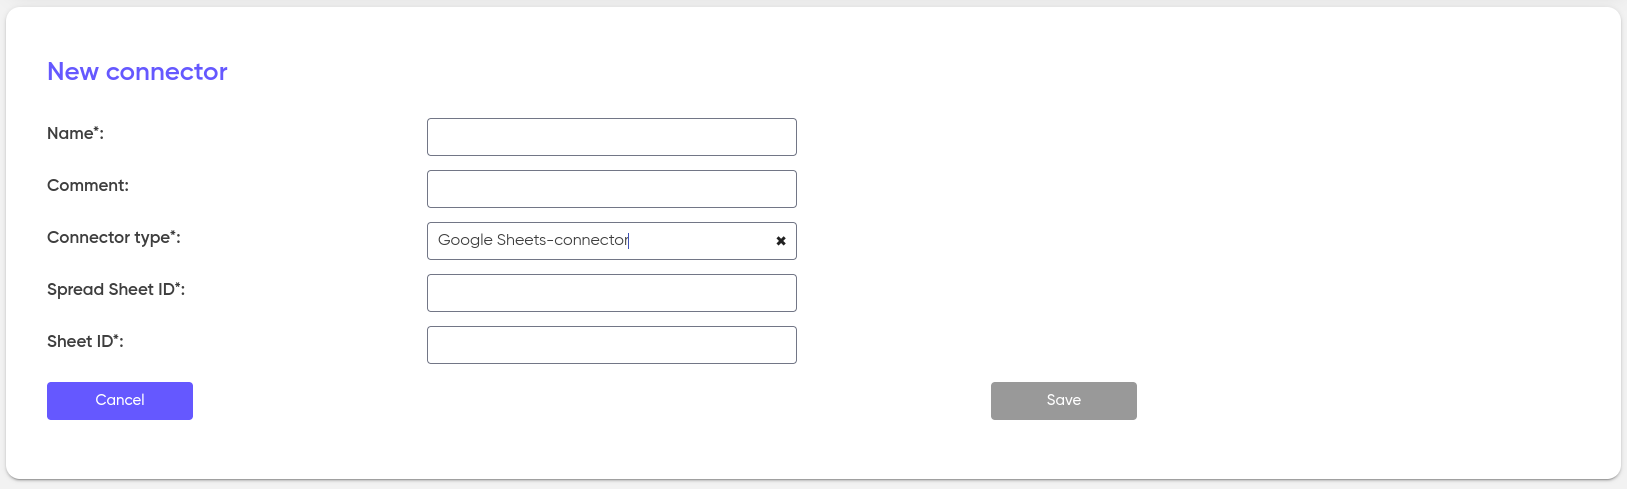
Google Sheets-connector
In the opened tab enter a name to your connector, comments (if needed) and in the drop-down list ‘Connector type’ choose the ‘Google Sheets-connector’ option.
Then insert this part of the link to the ‘Spread Sheet ID’ field:

After you can enter the name of the sheet that you will work with into the ‘Sheet ID’ field, for instance, ‘Sheet1’:
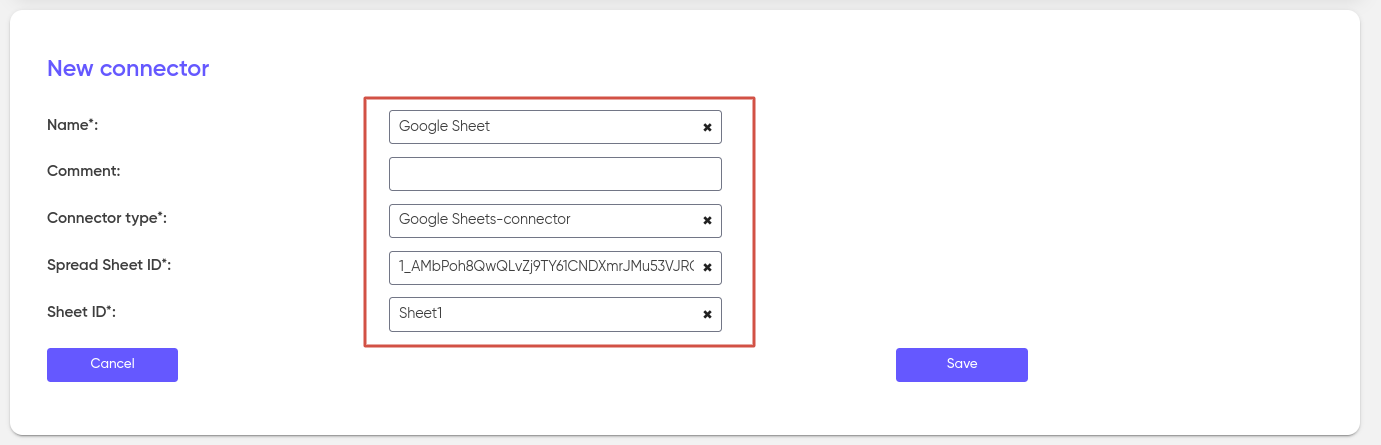
Click the save button. This way you can create a connector to your Google Sheets.
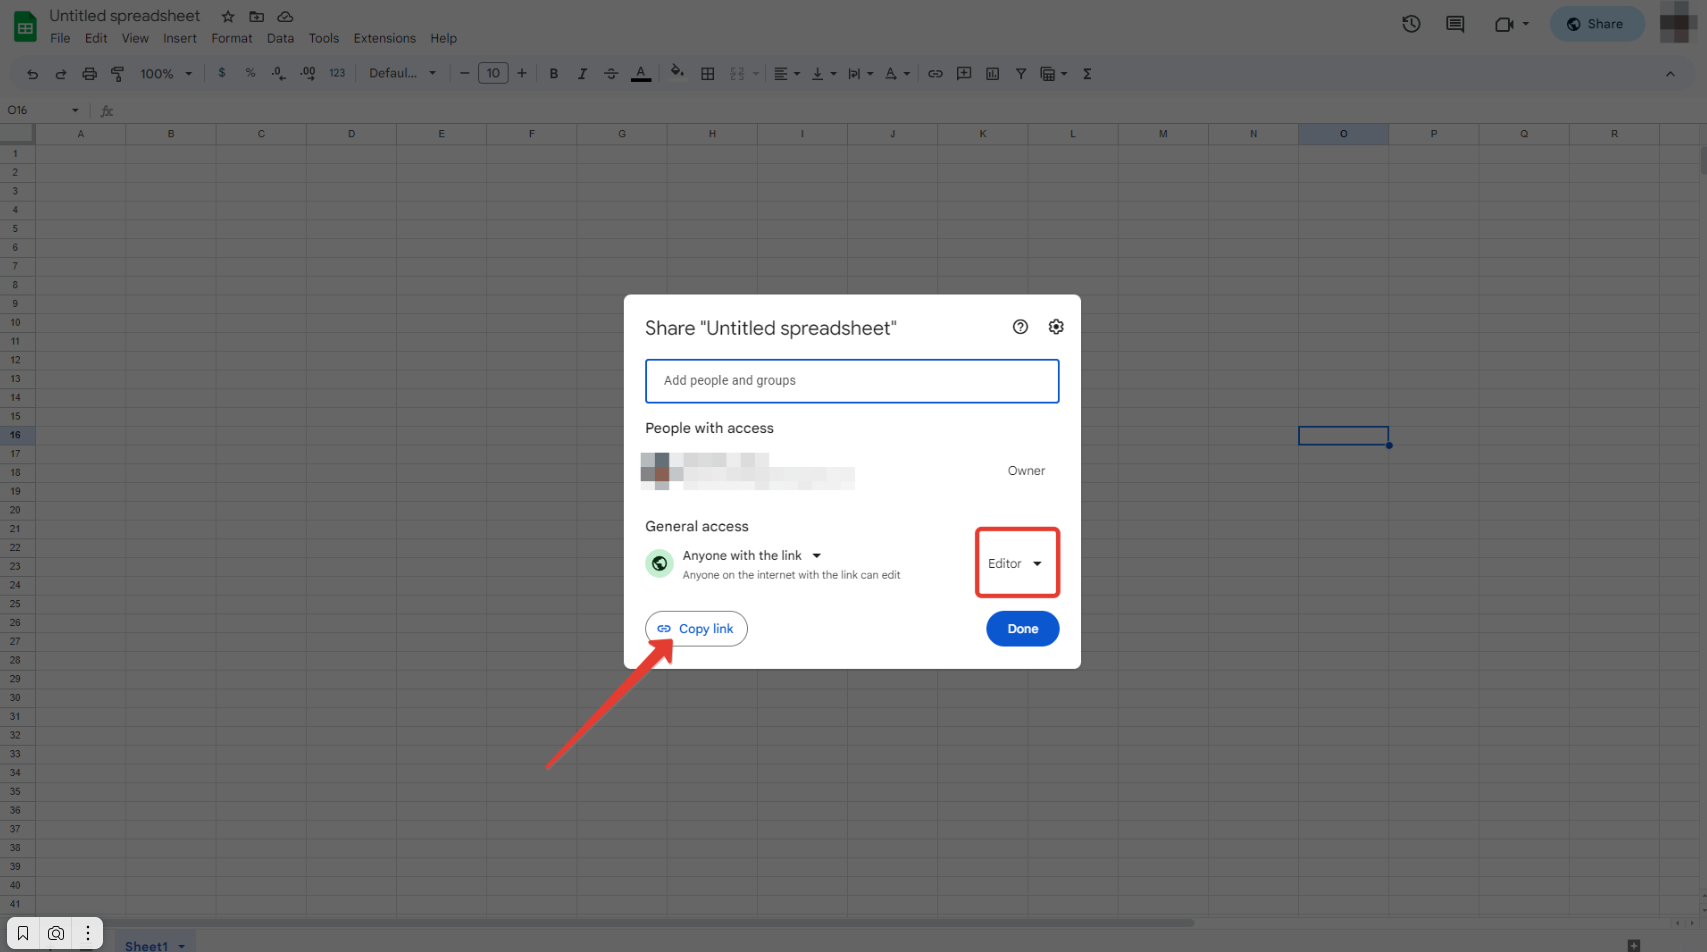
If you don’t have a link to your Google Sheet, you can find it there:
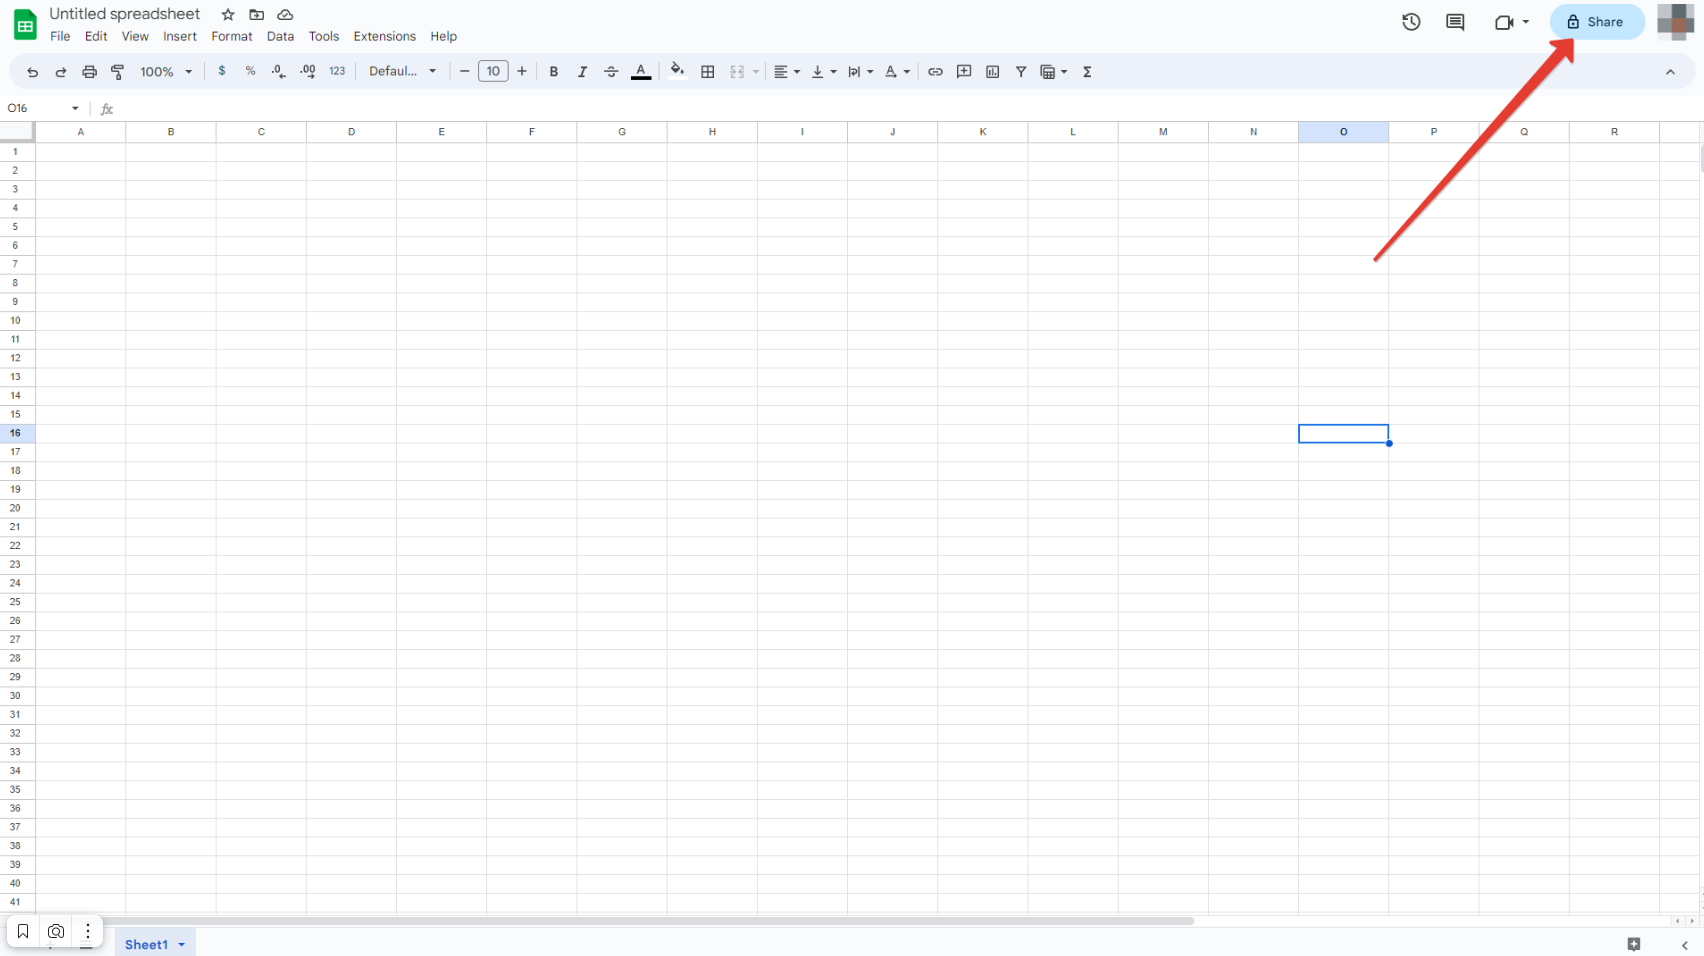
Note that everyone who has the link should also has rights to edit sheets:
Now, to use the connector, go to the «Google Sheets» and where the properties of the block itself and the supported operations are shown.
SMTP-connector
Fill out the newly opened form with the necessary data for the new connector:
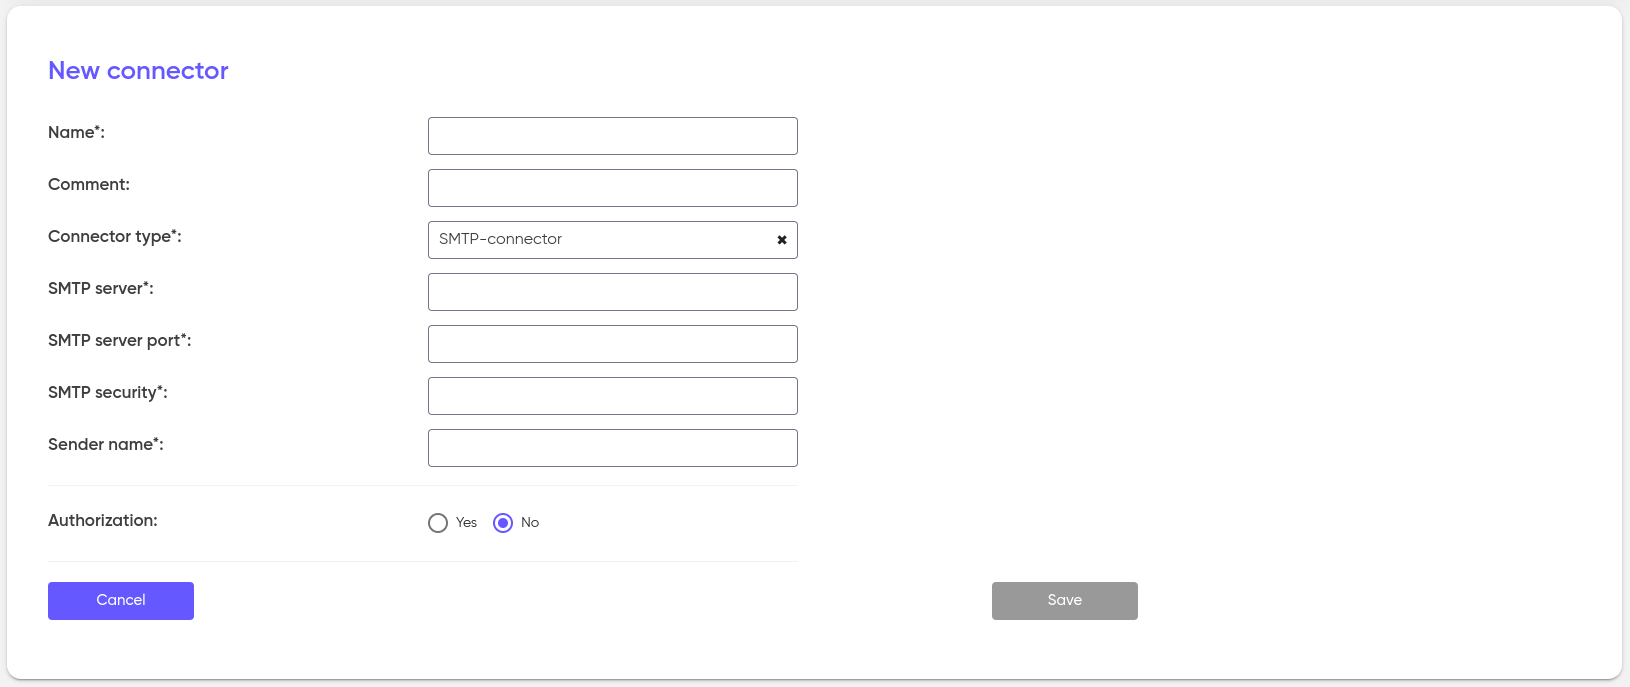
Fill in the following mandatory fields (according to your email service provider’s documentation):
- Name — the name for your SMTP-connector;
- Connector type — select «SMTP-connector» from the dropdown list;
- SMTP server — the SMTP server address to be used for sending emails (e.g., smtp.example.com);
- SMTP server port — enter the SMTP server port number (e.g., 587 or 465);
- SMTP security — the type of security used by your mail server (e.g., No, SSL, or STARTTLS). Note that this depends on your email host and may be optional;
- Sender name — specify the name that will be displayed to email recipients.
Then, fill out the remaining (optional) fields:
- Comment — optional comment about the connector;
- Authorization — if your mail server requires SMTP authorization, select «Yes».
Click «Save».
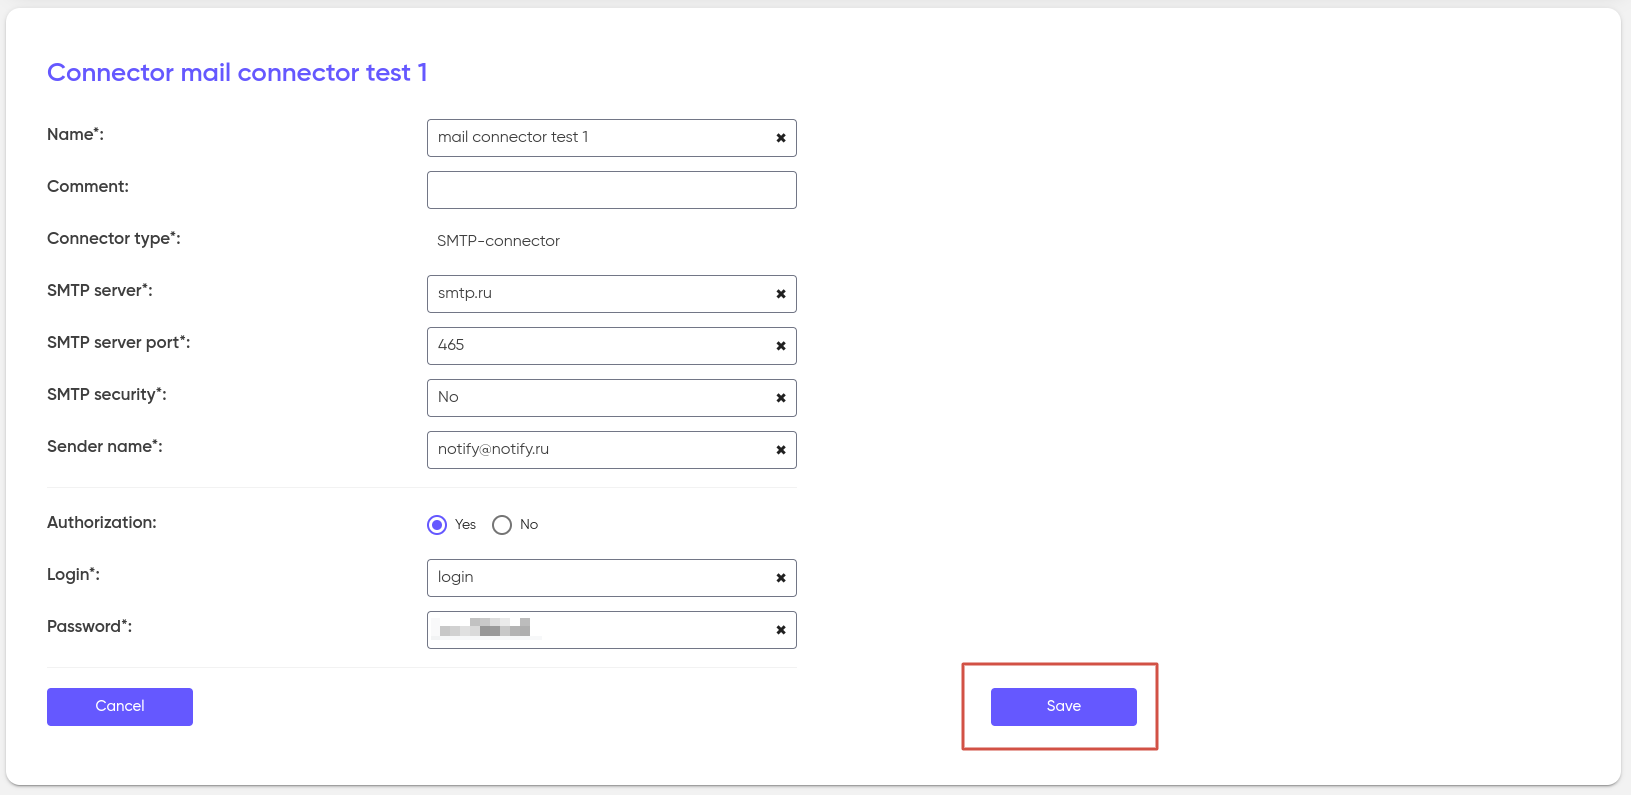
SMTP connector created.
Now you can use this connector to send emails via the specified SMTP-connector in the Email block.