Scenario Builder
Scenario builder is used to create scenarios for incoming and outgoing calls in text and graphic format.
Access to builder
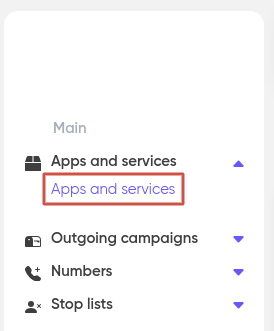
To use the builder you can go to the “Apps and services” page (from the home page of your personal account) and click the “Voice bot” section.
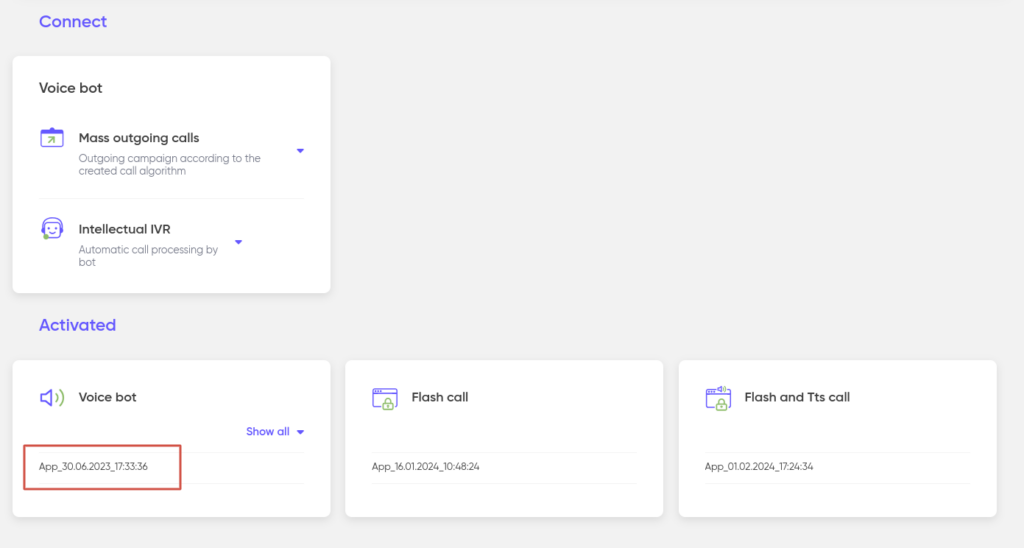
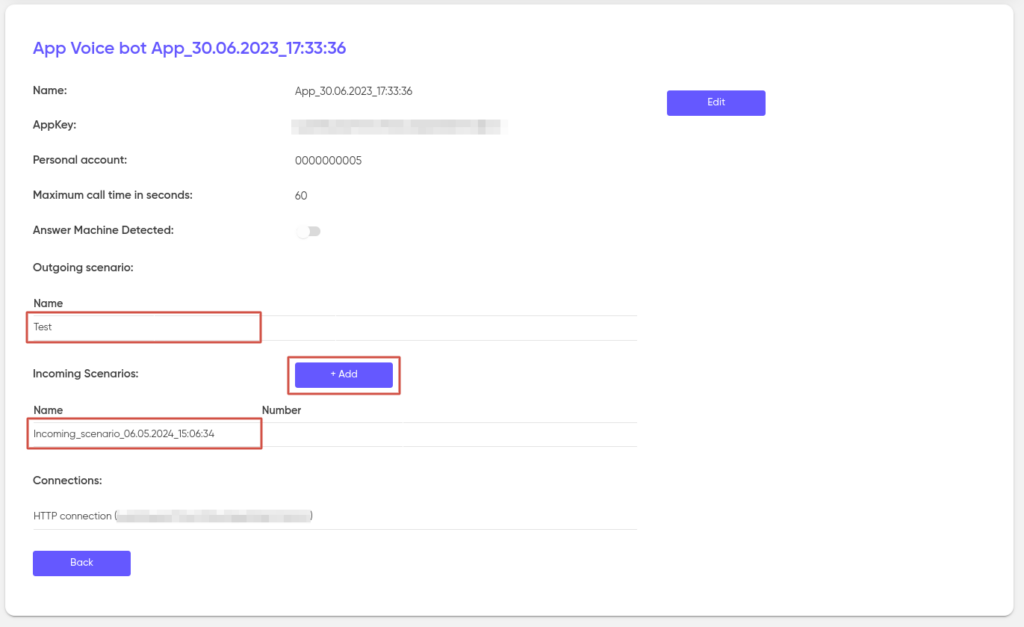
Next you can choose any scenario for outgoing or incoming calls that has been already created or you can create a new one by clicking the ‘+Add’ button:
Default synthesis settings
When creating an outgoing scenario, come up with a name for it by entering it in the “Name” field (required), a comment in the “Comment” field (you can leave it empty). By default, you can also select the provider, Tts language and Tts voice, but these settings can be changed according to your preferences.
And when creating an incoming scenario, under the fields “Name” and “Comment” you will see a drop-down list “Number” to select the phone number to which calls will be received in this incoming scenario. At this stage, you can skip the phone number selection.
Important
The search for phone numbers will only work if you enter at least 4 characters.
Usage example
When adding or searching for a phone number to call (incoming call), the filter will start showing results only if you enter at least 4 characters.
The settings of the synthesis provider, synthesis language, synthesis voice, recognition provider and recognition language are available and can be changed at your discretion.
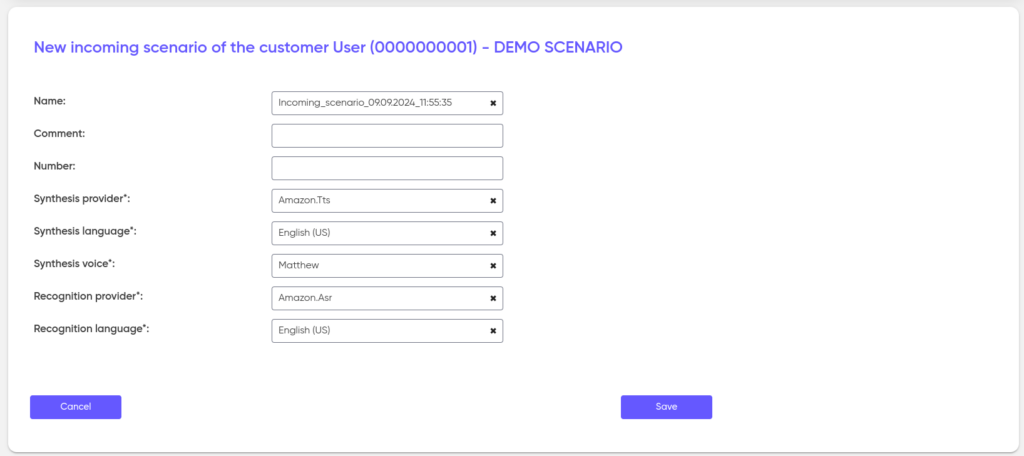
In both cases (outgoing and incoming scripts), a pop-up list will be available in the default settings, in which
- The following options are available in the “Synthesis provider” field: Yandex.Tts and Sber.Tts;
- Different languages are available in the “Synthesis language” field, depending on the selected provider;
- In the “Synthesis voice” field, specific voices are available for each language: male, female, or both;
- In the “Recognition provider” field, the provider that will recognize speech is selected: Yandex.Tts and Sber.Tts;
- In the “Recognition language” field, different languages are available for speech recognition in the “Recognition” block depending on the selected provider.
When creating script blocks, you can use other settings that will allow you to set different parameters for each block (see the Player, IVR).
Please note that only one outgoing script can be created for one application. In the case of incoming scripts, you can create:
- without a phone number — unlimited number of scenarios;
- with a phone number — the number of scenarios cannot exceed the number of numbers allocated to you.
Fill all the fields needed and click the button ’Save’ that starts to be clickable after you fill the forms. This way a new scenario is being created and saved in the app and you will see the page of the scenario builder.
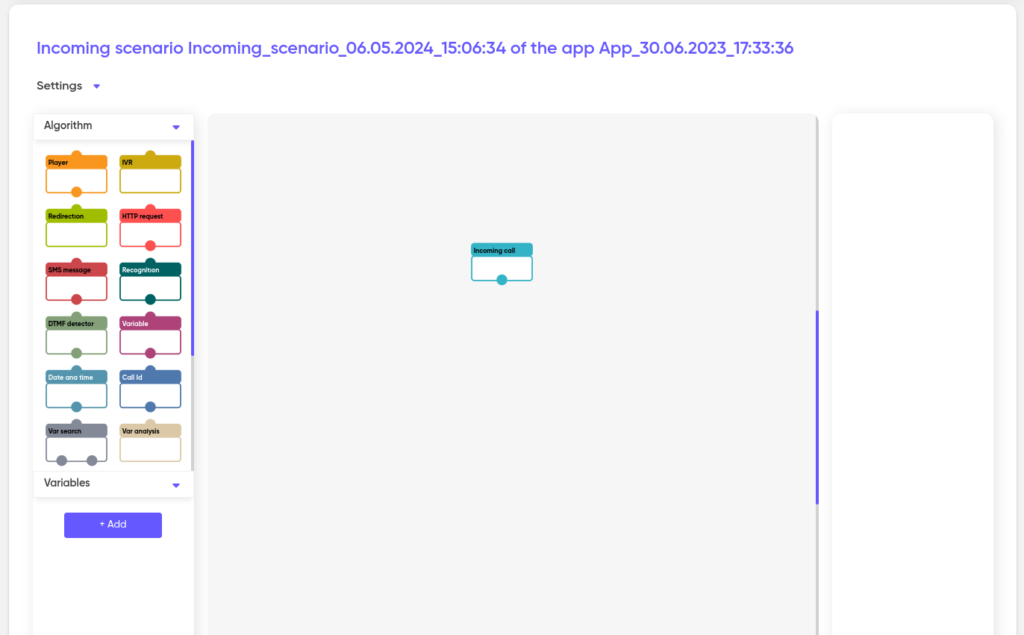
Builder’s interface
Scenario builder’s working area consists of the following sections:
- Algorithm;
- Variables;
- Building area;
- Features of the block.
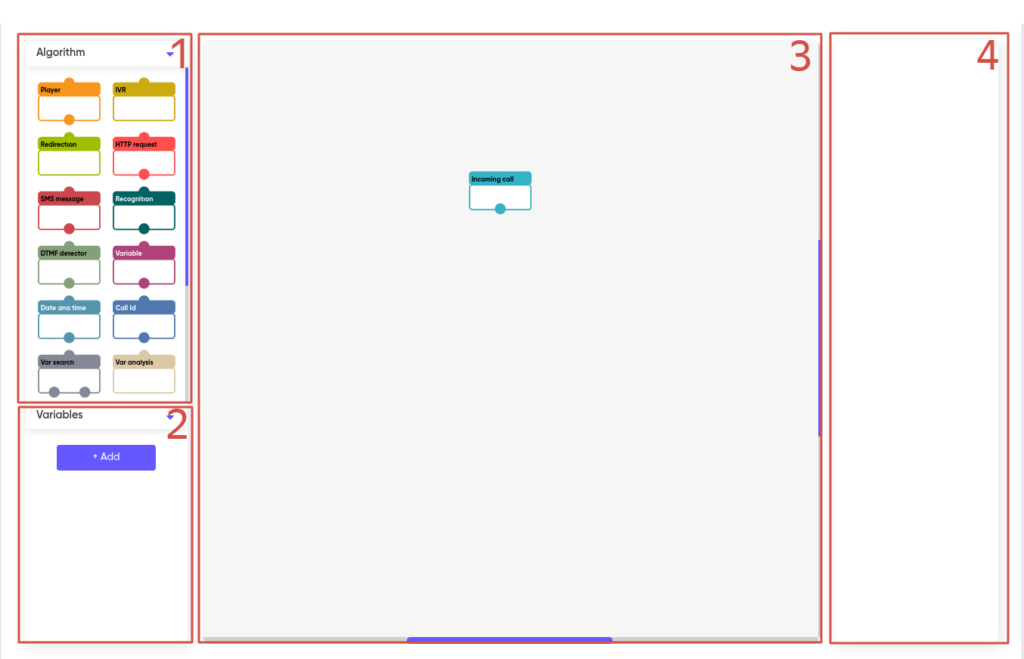
Algorithm section consists of the range of functional blocks that scenarios are created from. To put any block into your scenario you should drag it to the building area.
Outgoing or Incoming call block (depending on whether you create an outgoing or an incoming scenario) is placed in the building area and is used as a start to create any scenario.
After you place any of the blocks into the building area you will see the settings of it in the Features of the block field:
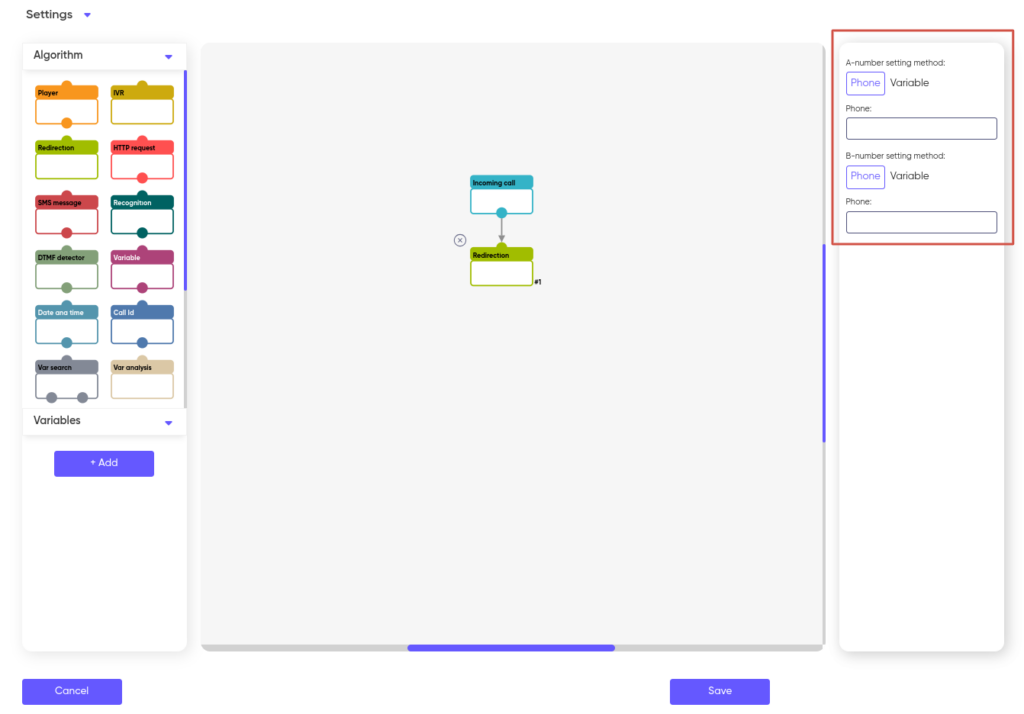
To delete a functional block from the building area (from a scenario) you can click it and then click the close button on the top left corner.
To connect two blocks (two events in a scenario) drag the mouse from the downside circle of one block (output) to the upside circle of another block (input). In the context of a scenario it means that event B starts after event A is over.
Any block that is not connected to another one means the end of a scenario so after this block the system will end the call.
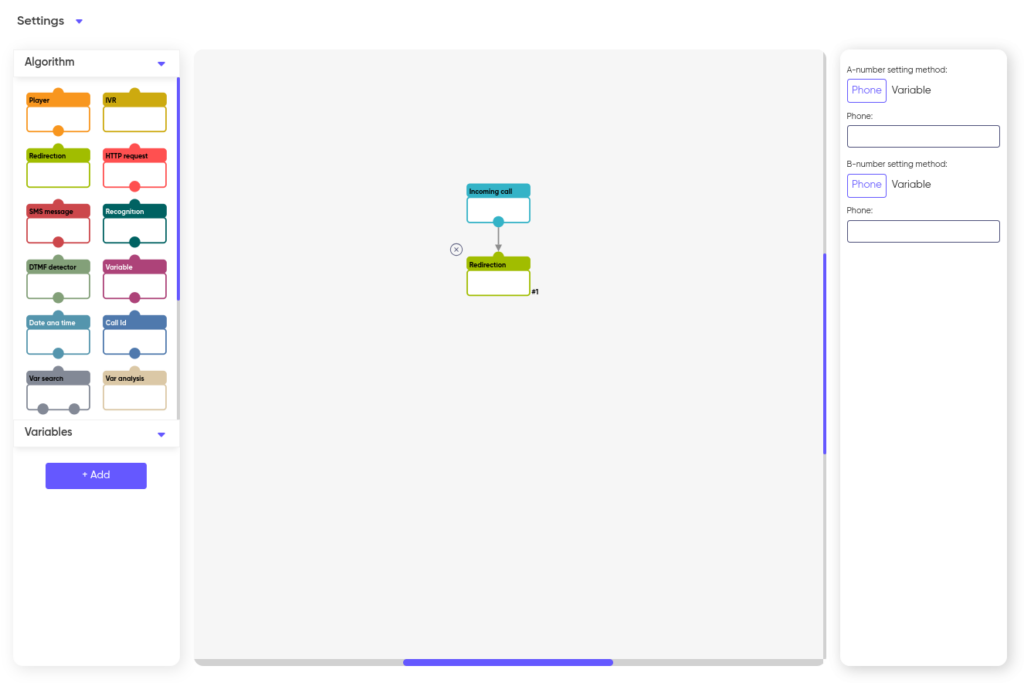
To separate two blocks click the arrow and then the close button next to it.
Added hotkeys for working with blocks in the scenario:
- Ctrl+C — copy;
- Ctrl+V — paste;
- Ctrl+X — cut;
- Delete/Backspace — delete block;
- Holding Shift allows you to select multiple blocks.
Variables
Variable in a scenario is an abstract link to a saved value. A value to a variable can be assigned while a scenario is being created or it can be assigned from the outside, for instance, from a list of subscribers from an uploaded file or from the call itself.
Therefore direct value can be assigned to any variable that means ‘variable is equal to…’. Or choose the option when a value to variable is assigned from the outside and put the variable’s name into the brackets {}, for example, you can put a variable this way into a message text for the robot.
You can create variables in the ‘Variables’ block. To create a new variable click the ‘+Add’ button and enter a name for it. The variable name can have alphabets and digits. Moreover you can add a description to the variable in the ‘Comment’ section or leave it empty.
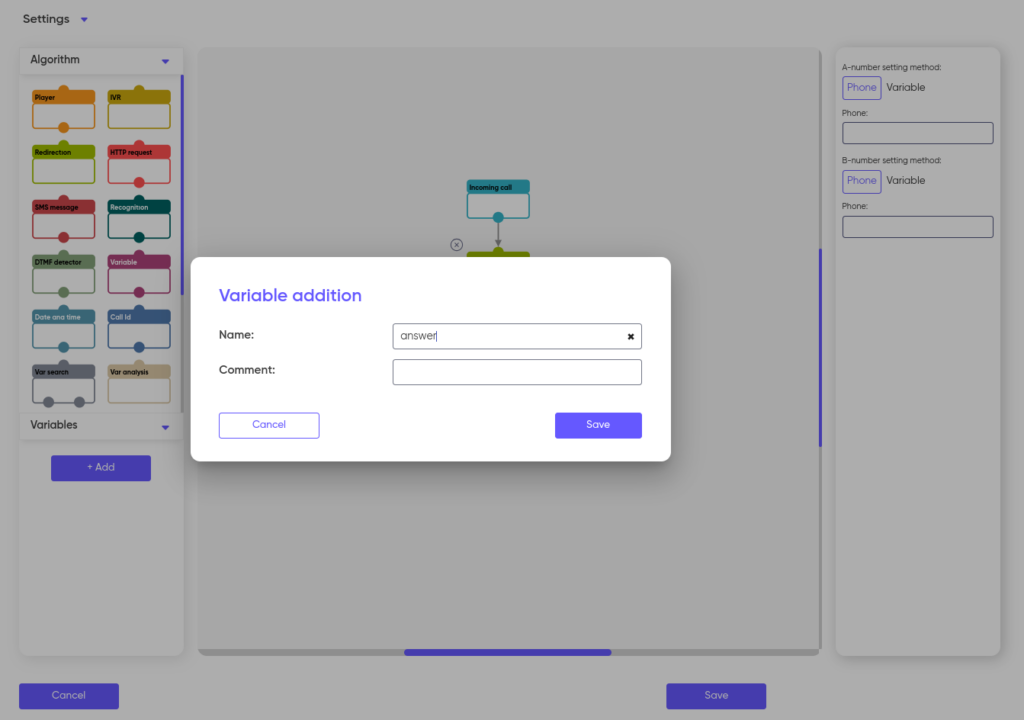
After clicking the “Save” button, the variable will be created and will appear in the “Variables” area, where all variables are sorted alphabetically.
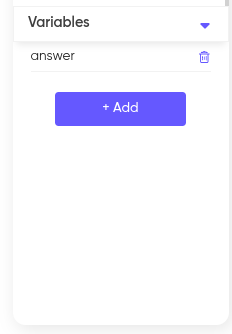
You can create an unlimited number of variables and also delete them by clicking the trash icon.