Customers
A counterparty is a client of the system that uses products and services.
Adding a new client in the form of a company/organization to the system involves creating and configuring a counterparty profile:
- Name of the counterparty and contact information;
- Segment that classifies counterparties;
- Channel of acquisition;
- Status that indicates the current state of the counterparty in the system;
- Email address;
- Contacts for managers;
- Contacts for technical specialists;
- Contacts for accounting;
- Website;
- Responsible manager for working with the counterparty;
- Service manager;
- Names of invoices that will be issued to the counterparty;
- Addition of the legal entity of the counterparty, specifying the organization on behalf of which invoices will be issued for the use of products/services;
- Personal accounts with the addition and configuration of available products/services for the counterparty;
- Accounts for employees of counterparties who will have access to work with the system;
- History of changes to the counterparty profile.
Creating a customer
To go to the list of customers, click on the corresponding item in the main menu of your personal account.
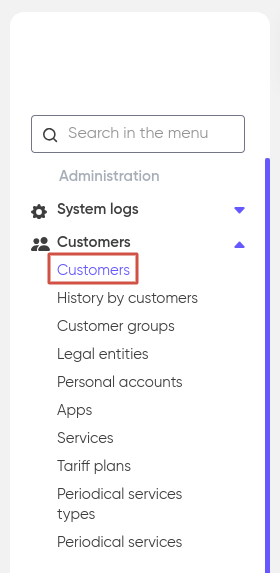
The page that opens will contain a list of all the customers that you have added to the system.
To create a new customer profile, click on the “+ Add” button in the upper right corner of the page.

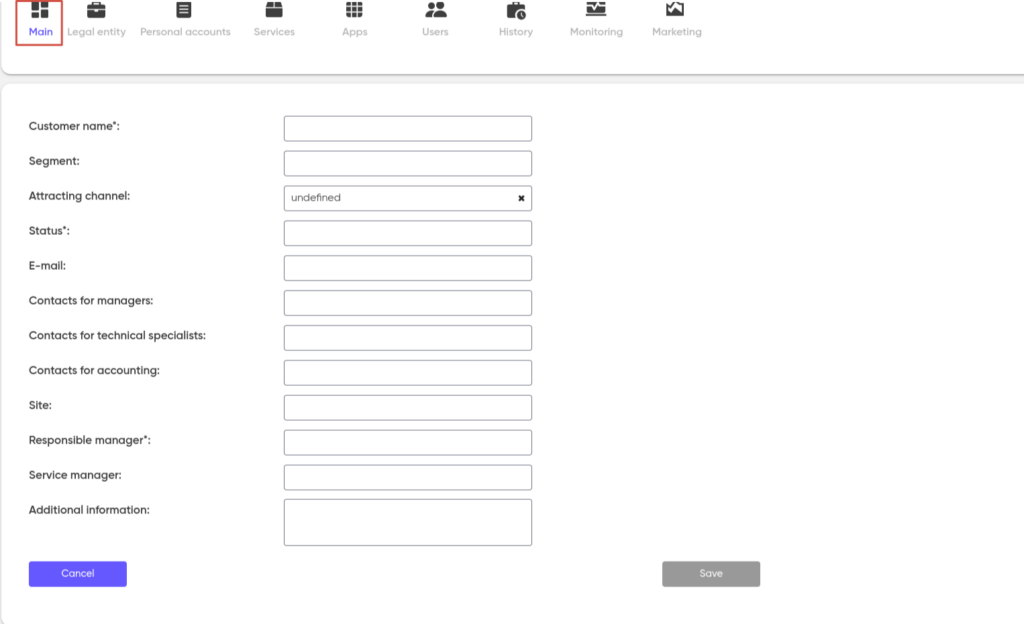
After that, in the “Home” tab that opens, fill in the fields provided in the form. The fields “Customer name”, “Segment”, “Status”, “Attraction channel” and “Responsible manager”, are mandatory.
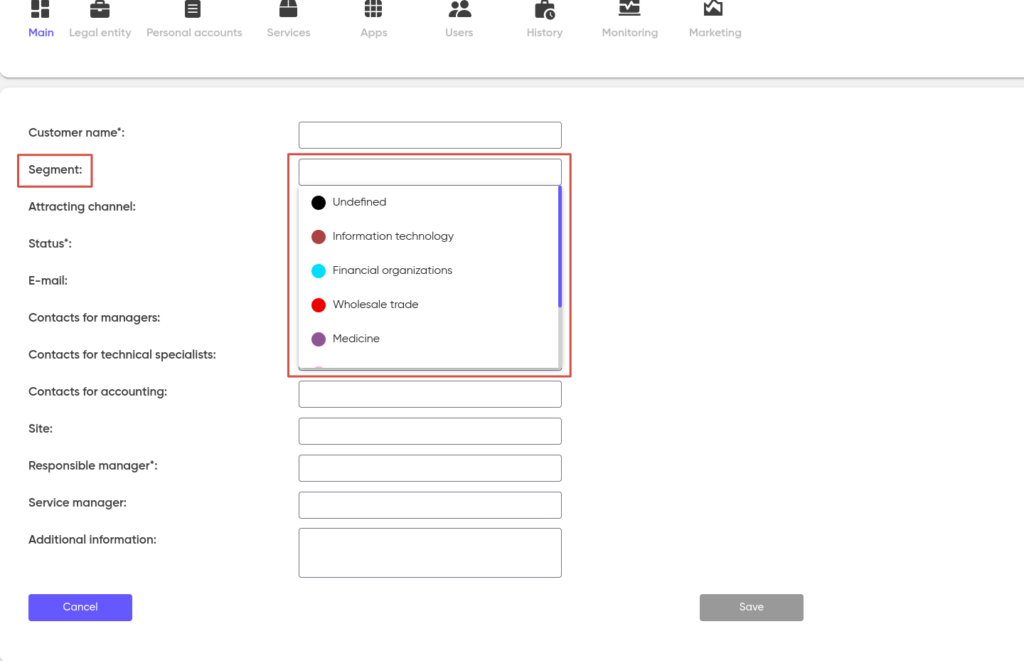
When you select a segment, a pop-up list opens with previously added segments:
When you select an attraction channel, a pop-up list with the added channels opens:
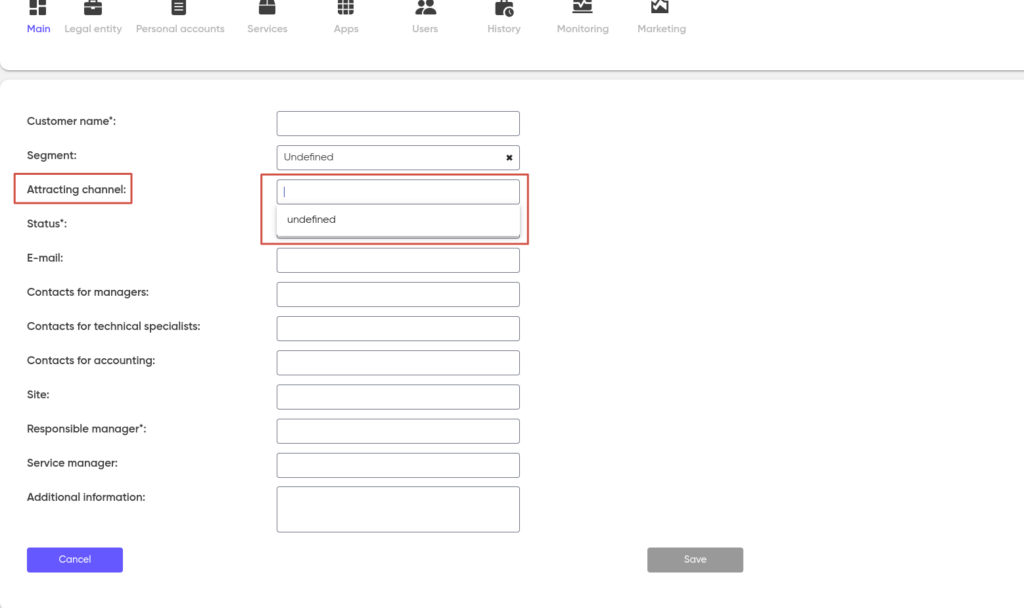
When you select a status, a pop-up list with added statuses also opens:

After clicking on “Save”, the profile of the new customer will be created in the system.
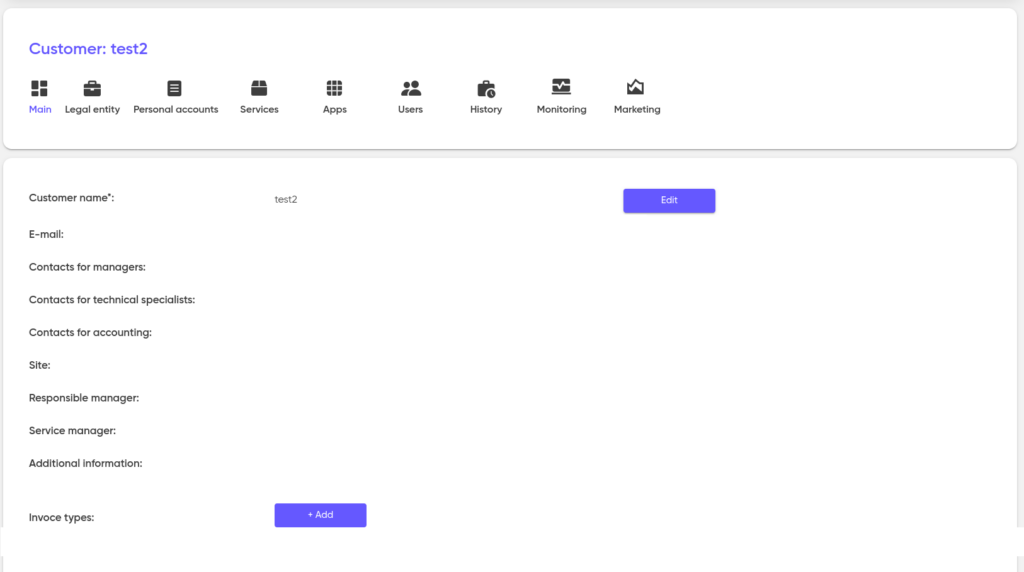
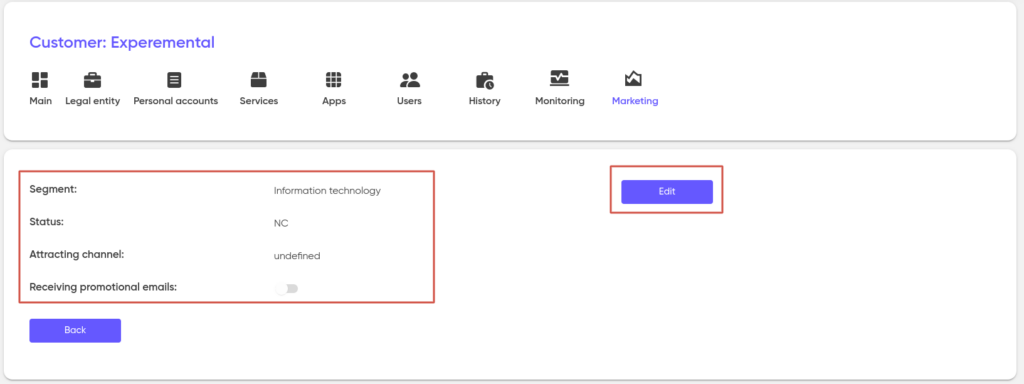
“Segment”, “Status” and “Channel of attraction” are moved to the “Marketing” tab, where they can be changed:
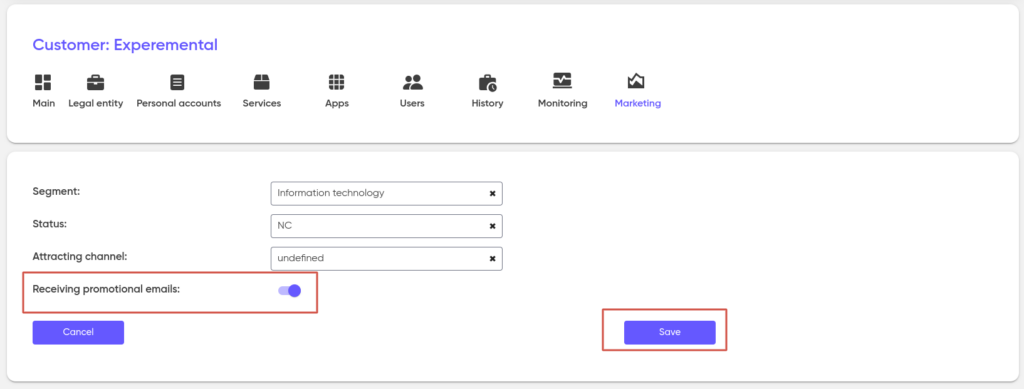
If the customer agrees to “Receive promotional emails”, then this option is enabled, if in the future he refuses it, then it must be changed manually.
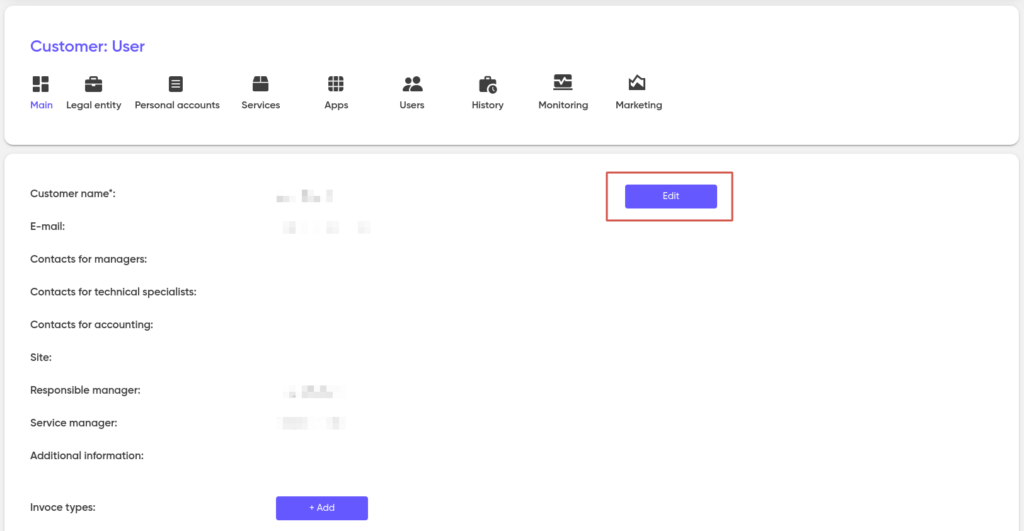
In the future, by clicking on “Edit”, you can change the information about the customer or reassign the responsible manager.
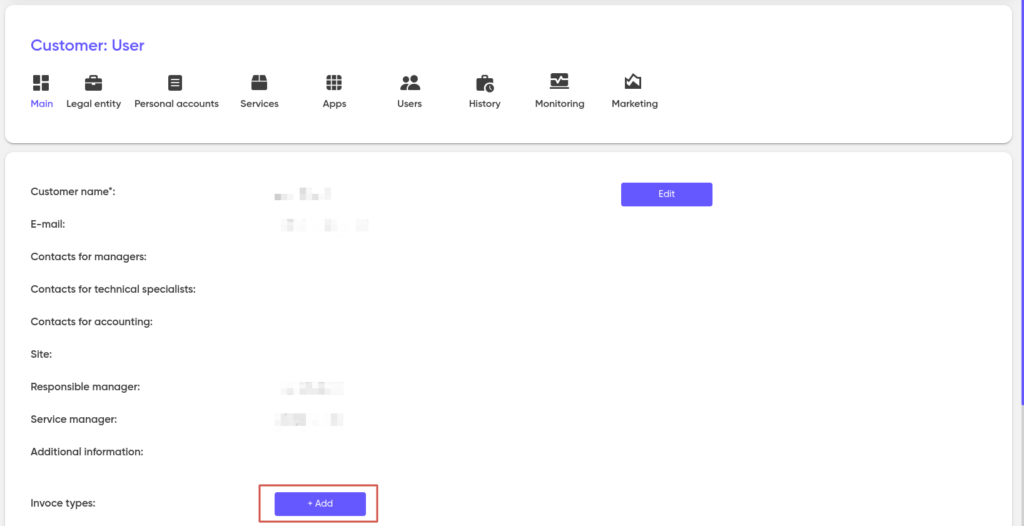
The “Invoices types” setting is located at the bottom of the page. Here you can add and remove the types of invoices that the customer will be able to issue to themselves for the use of certain products or services.
Setting up columns and filters

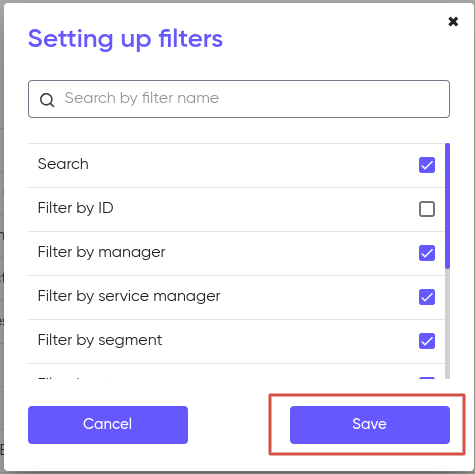
You can also customize the display of filters by choosing which ones to show and which ones to hide. Then click ‘Save’.
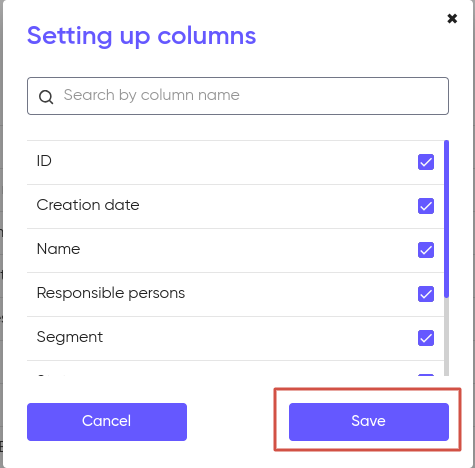
In addition, column settings are available, which allows you to choose which of them to display in the list of customers. After making the changes, click “Save”.
Exporting a report
To get a report on customers, you can use the filters to refine the request on the page and click “Apply”.

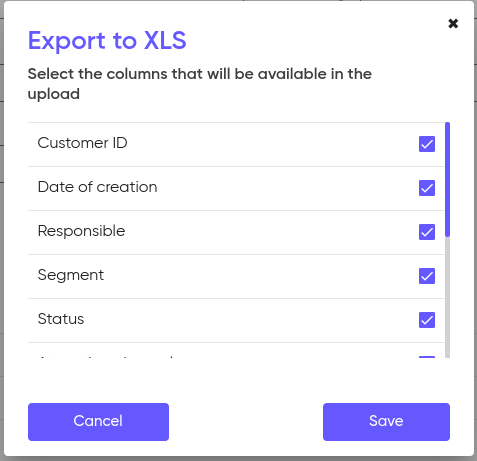
When exporting the report, you can select which columns will be included in the report. Check the boxes next to the data you need and click “Save.”
