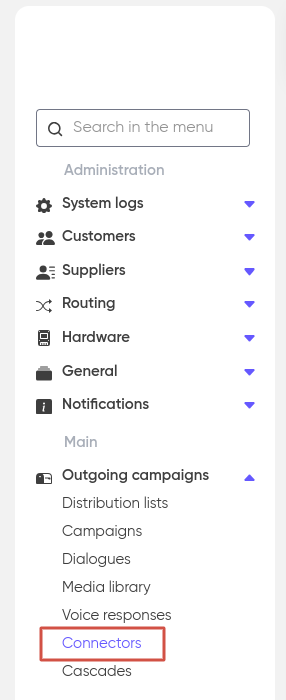
Connectors
To grant applications access to your Google Sheet or email via SMTP, you first need to create the appropriate connector and then link it to the script.
To do this, go to the corresponding section in the left menu of your dashboard and click on «+ Add«.

Google Sheets-connector
In the form that opens, enter a name for the new connector, select the Customer for whom the connector will be created, add a comment (optional), and select «Google Sheets Connector» from the dropdown list in the «Connector Type» field.

Next, in the «Spread Sheet ID» field, paste this portion of the link to your Google Sheet:

In the «Sheet ID» field, specify the name of the sheet that will be used, for example, «Sheet1».
Click Save.

The Google Sheets connector is now created.
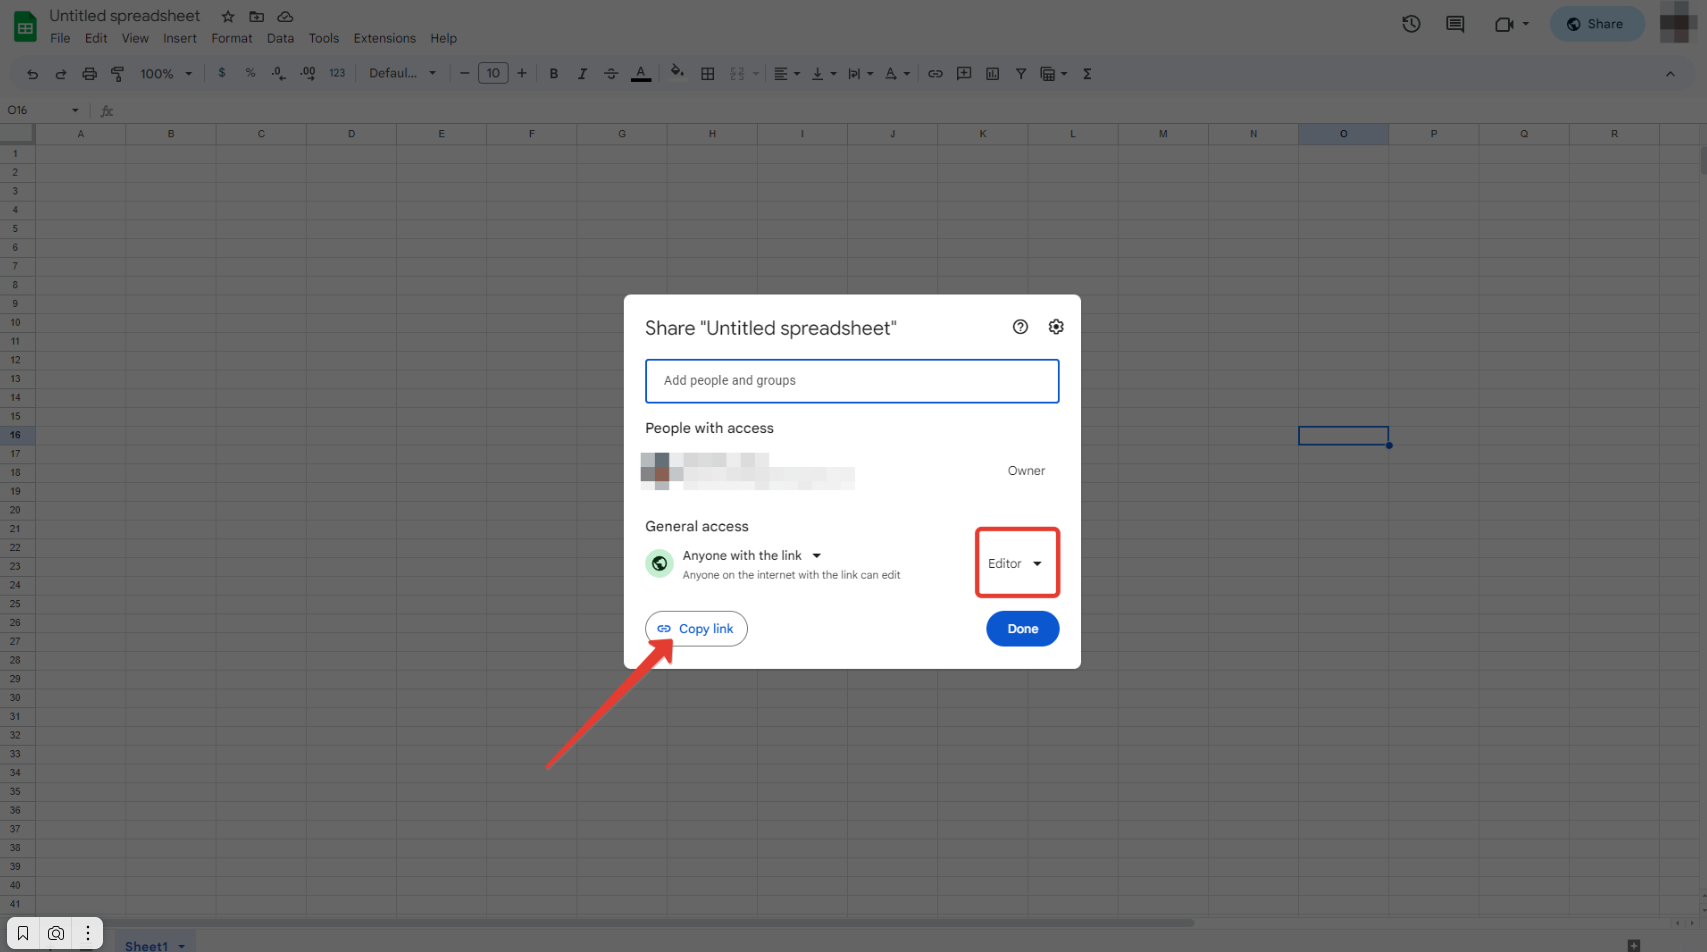
If you don’t have the link to the sheet, you can obtain it as follows:
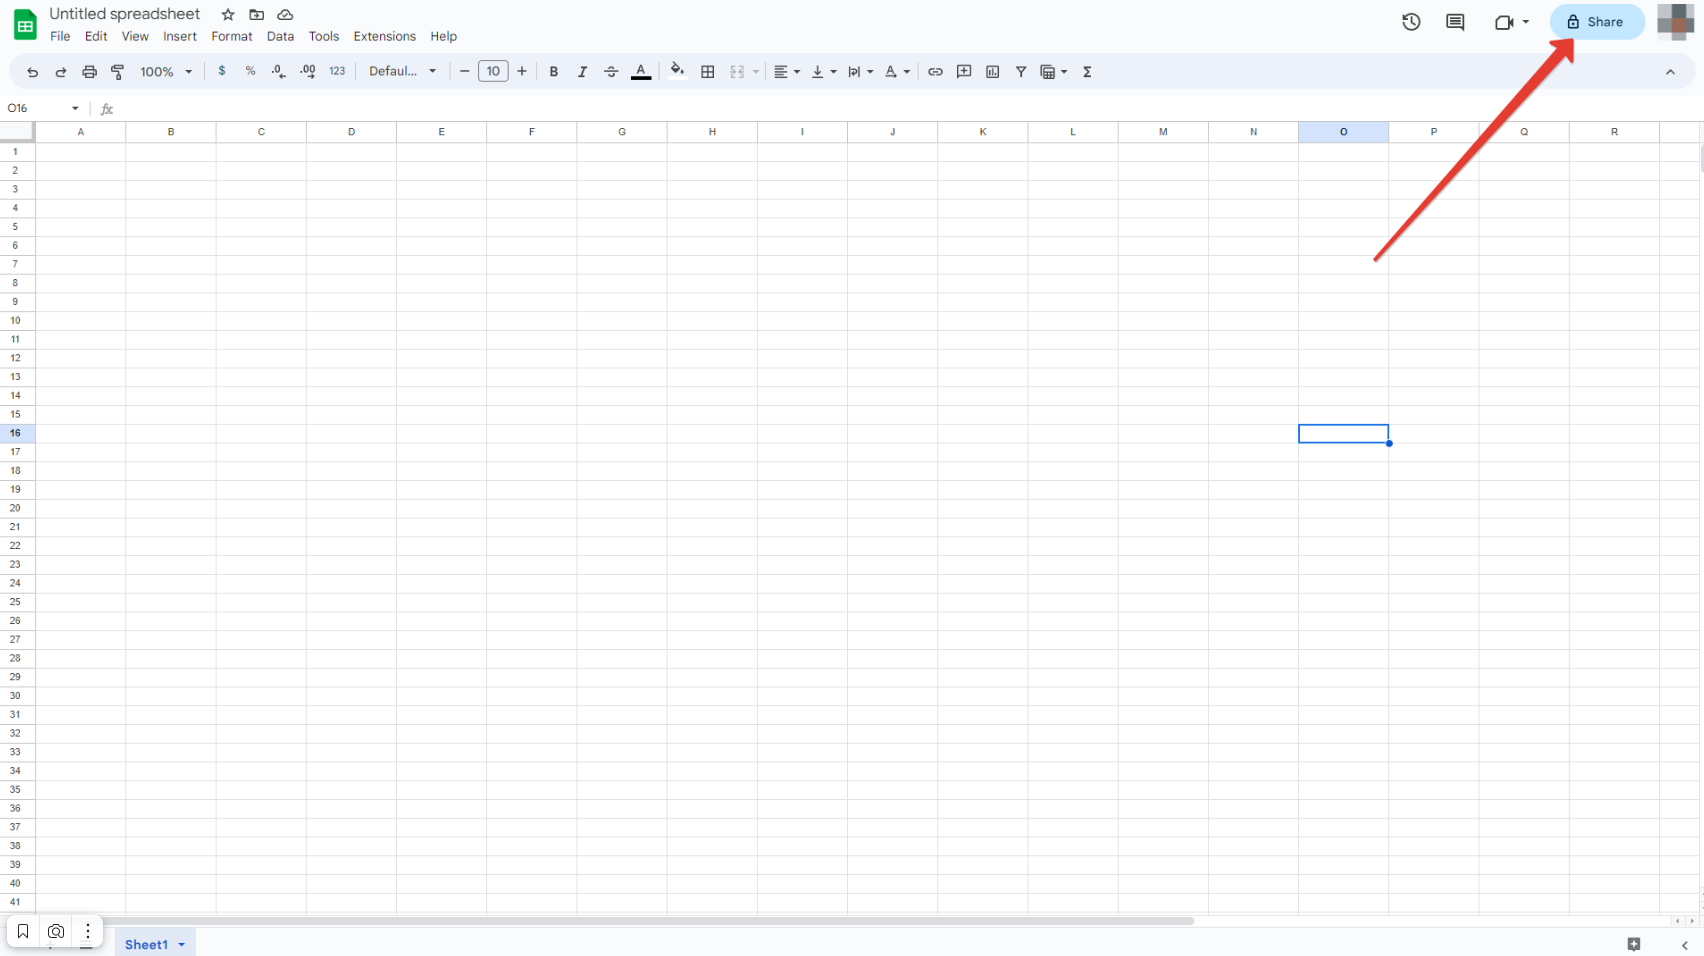
Make sure that anyone with the link has editing rights for the table:
Now, to use the connector, go to the «Google Sheets» section, where the properties of the block and supported operations are displayed.
SMTP-connector
In the form that opens, fill out the necessary details for the new connector:

Complete the following required fields (according to your email service provider’s documentation):
- Name — the name for your SMTP connector;
- Customer — for whom this connector will be created;
- Connector type — select «SMTP Connector» from the dropdown list;
- SMTP server — the address of the SMTP server to be used for sending mail (e.g.,
smtp.example.com); - SMTP server port — enter the SMTP server port number (e.g.,
587or465); - SMTP security — the type of security used by your mail server (e.g., NONE, SSL, or STARTTLS). Note that this depends on your mail host and may be optional;
- Sender name — specify the name that will appear for email recipients.
Next, fill in the remaining (optional) fields:
- Comment — a comment for the connector (optional);
- Authorization — if your mail server requires SMTP authorization, select «Yes».
Click «Save».

The SMTP connector is now created.
You can now use this connector to send mail via the specified SMTP connector in the Email block.