Outgoing routing groups
The outgoing routing groups mechanism allows you to centrally change the outgoing route for all services that specify this group. In order to change the route for a group of services, it is enough to reassign the route in the group settings.
Outgoing routing groups are created and stored in the Outgoing Routing Groups section.
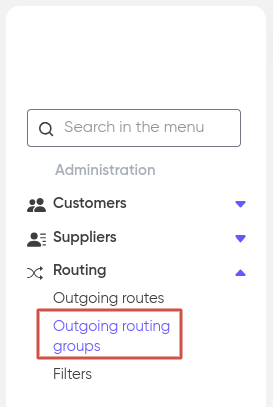
After clicking on the «Outgoing routing groups» in the personal account menu, we will see a list of all the groups that have been created, you can also add a new one. To do this, click on the «+ Add» button.
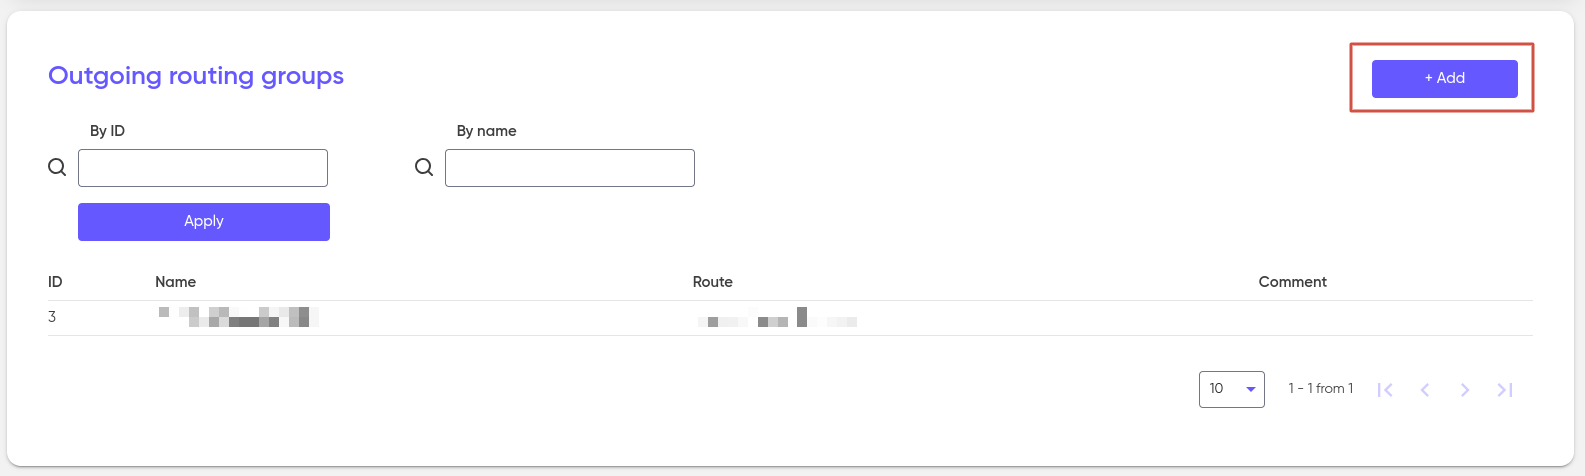
In the window that appears, set the Name (required), select the Route (required), Additional information is filled in at will.

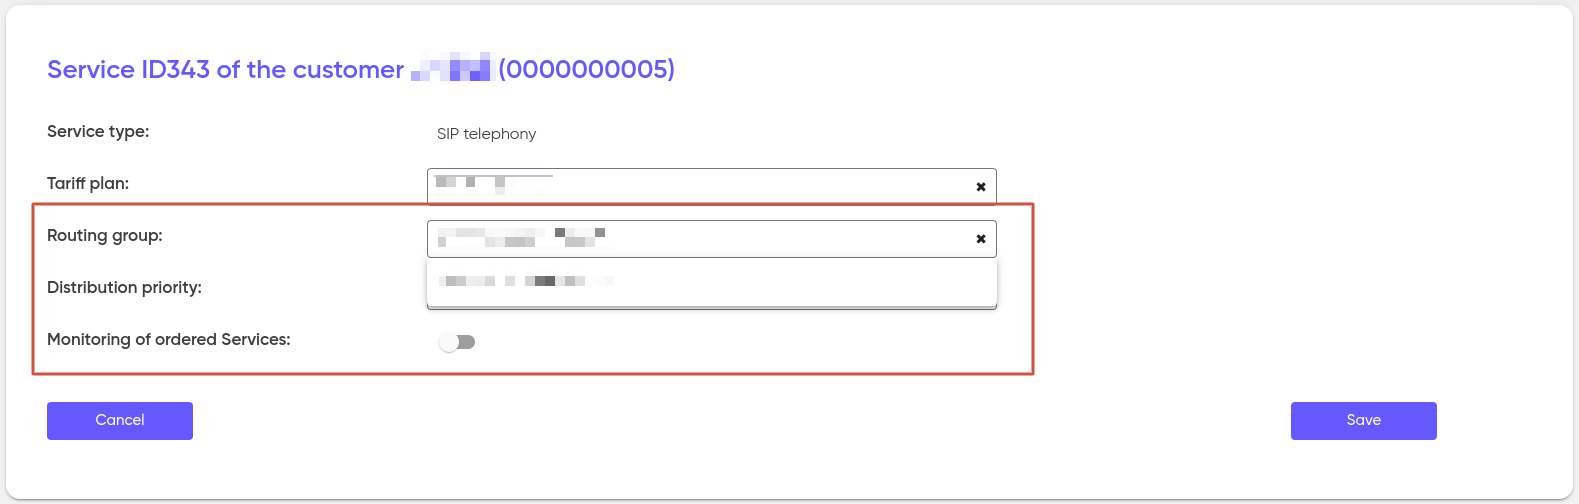
After creating a group, connect it to the necessary customer services.
On this page